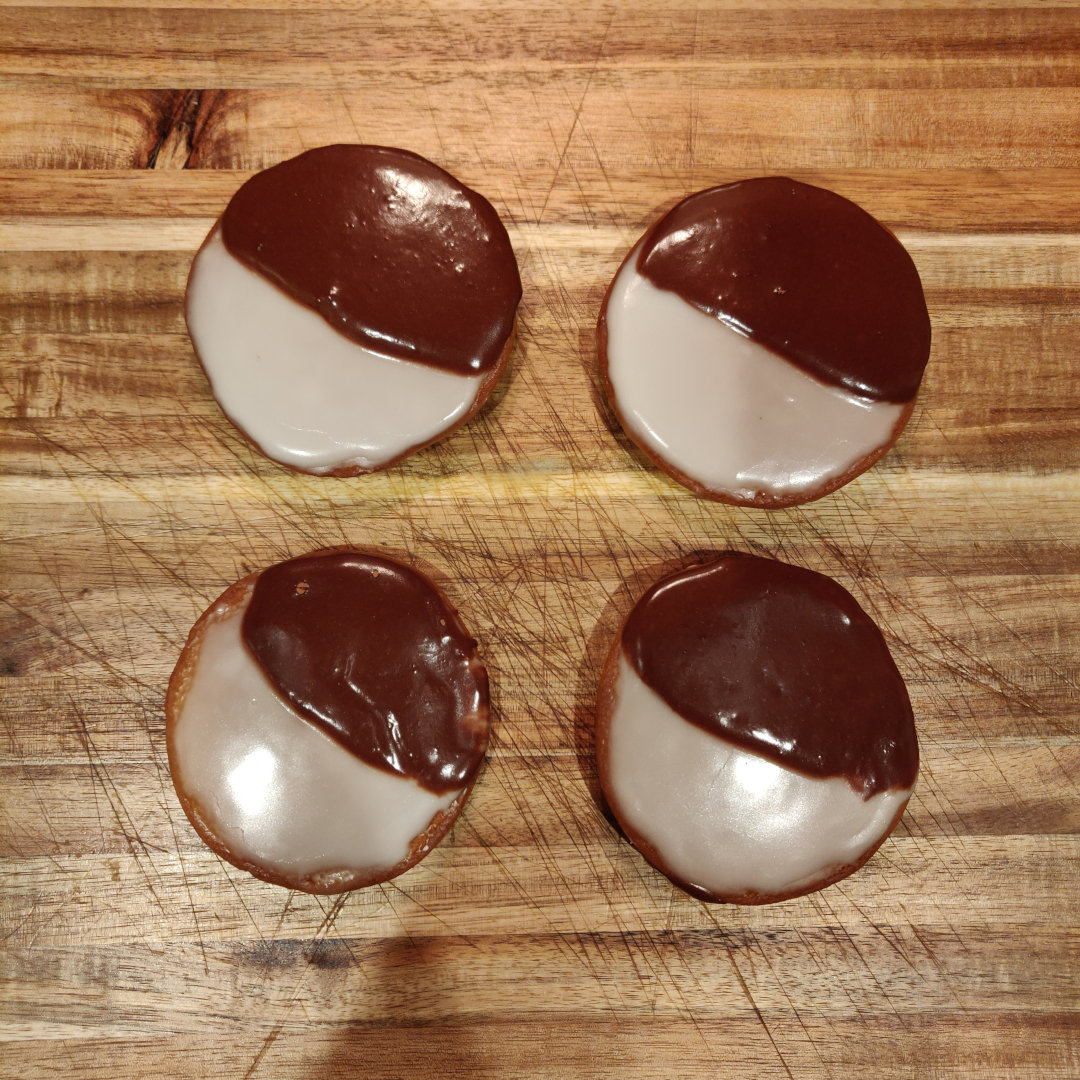
Ingredients for the cookies
Tip: You can tap the circle next to each ingredient to check it off as you follow along or while you shop for ingredients.
Step-by-step instructions for the cookies
Step 1 Preheat your oven to 175°C / 350°F.
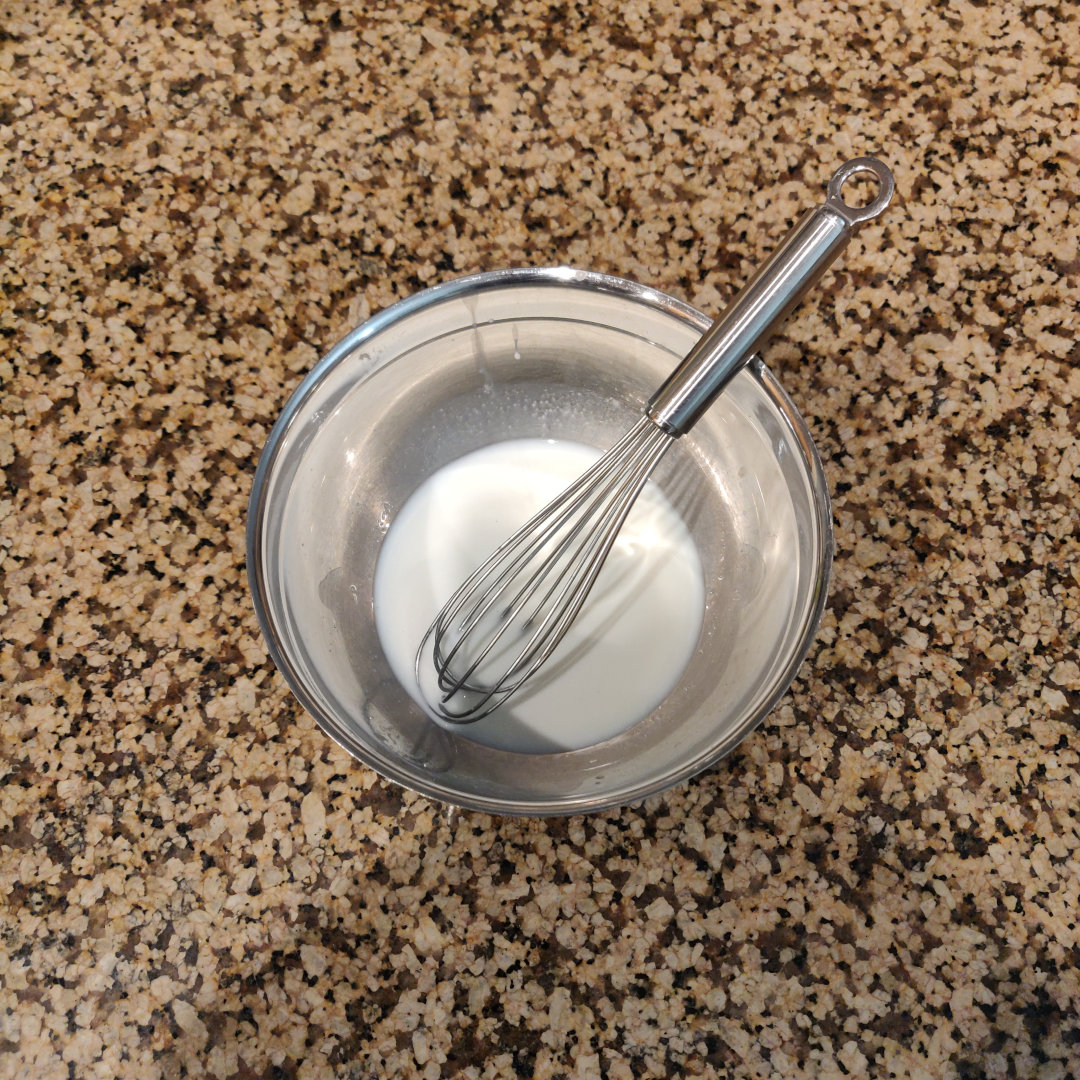
Step 2 Whisk the milk and the lemon juice in a small bowl. Set aside for 10 mins while the milk and lemon juice react with each other and might start to clot.
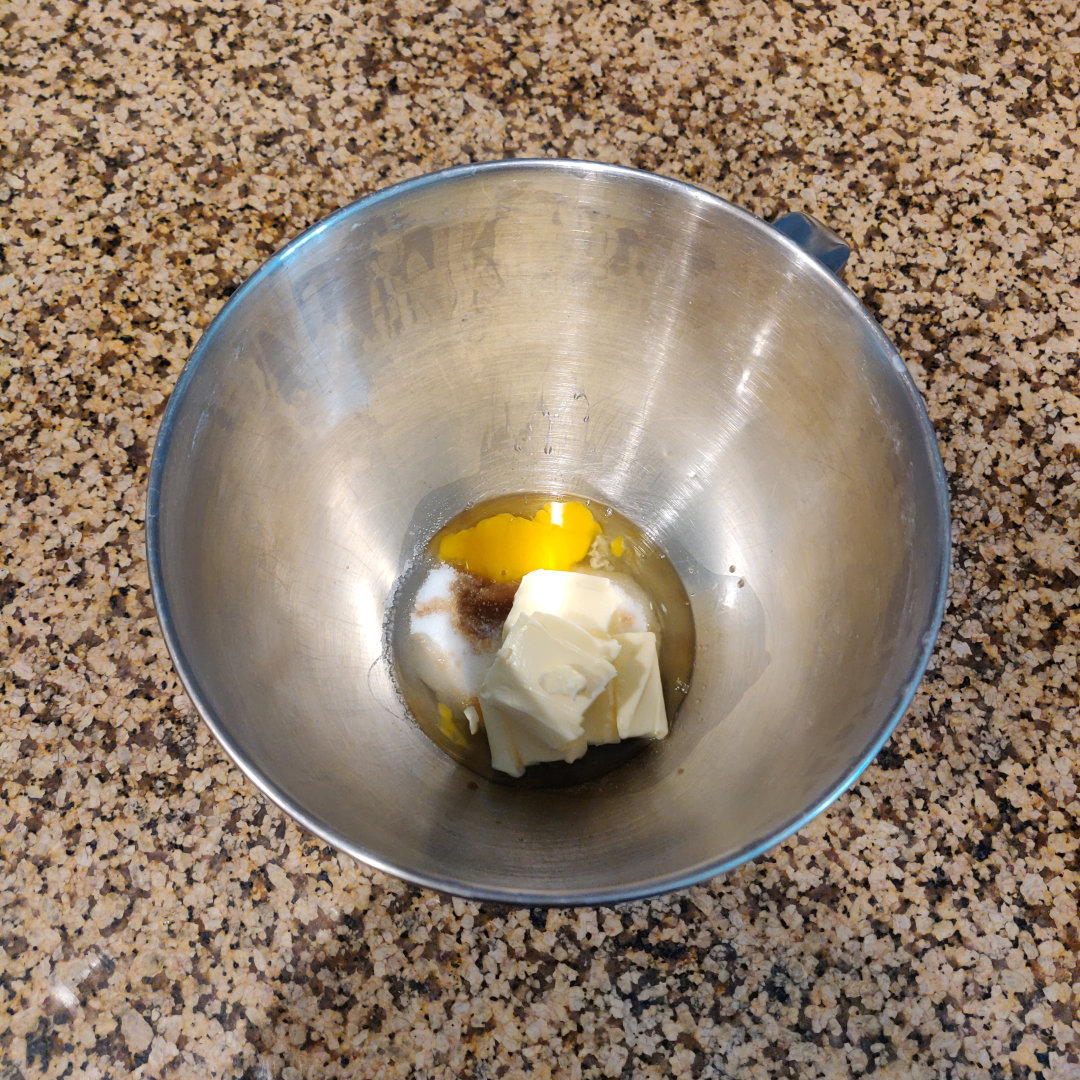
Step 3 Add the eggs, granulated white sugar, vanilla extract and butter to a mixing bowl.
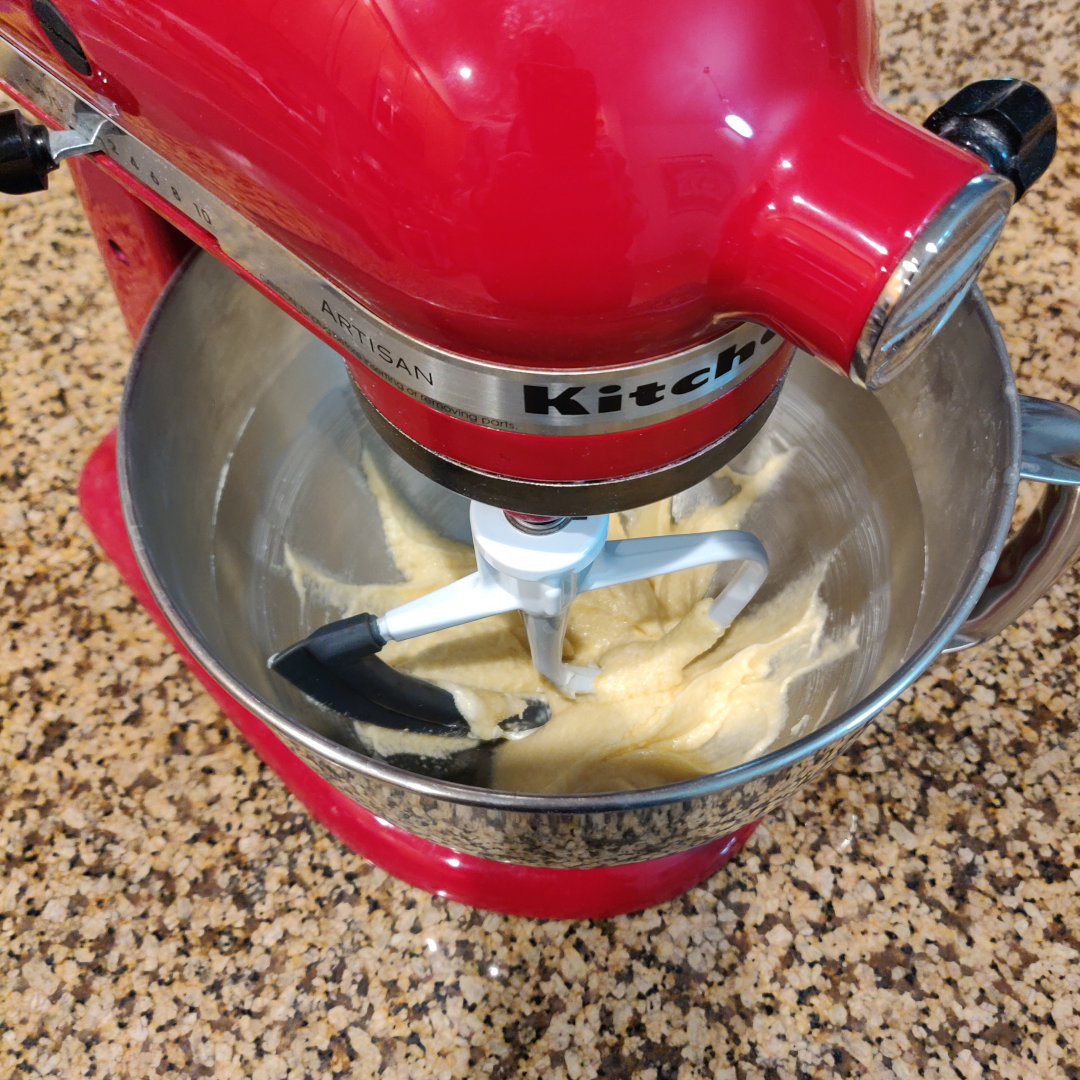
Step 4 Beat together for 2 mins on medium with your kitchen mixer, or stir by hand with a whisk.
Step 5 Add the milk/lemon juice mixture to the mixing bowl.
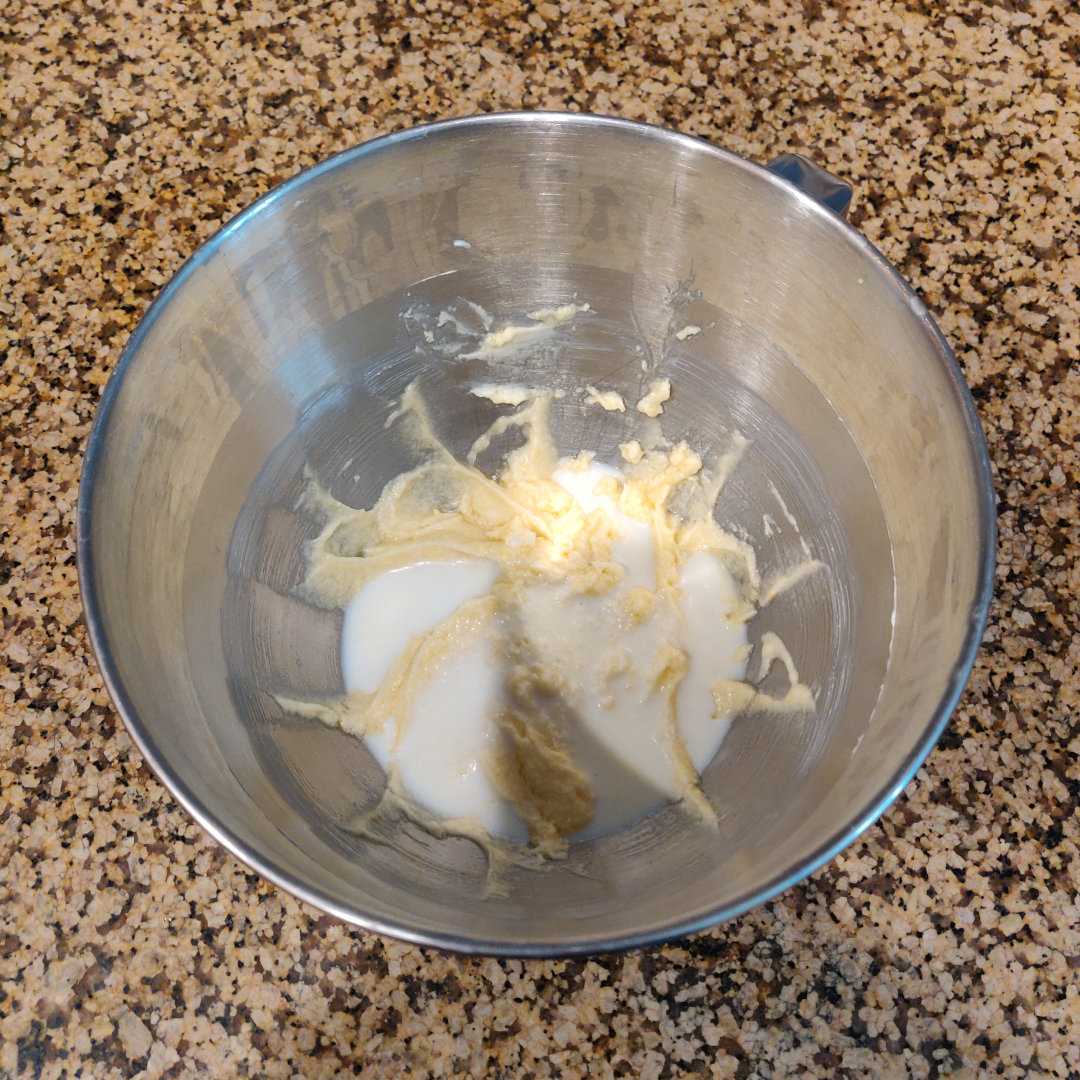
Step 6 Beat together for 2 mins on medium with your kitchen mixer or with your whisk. At this point, the batter takes on a somewhat lumpy texture.
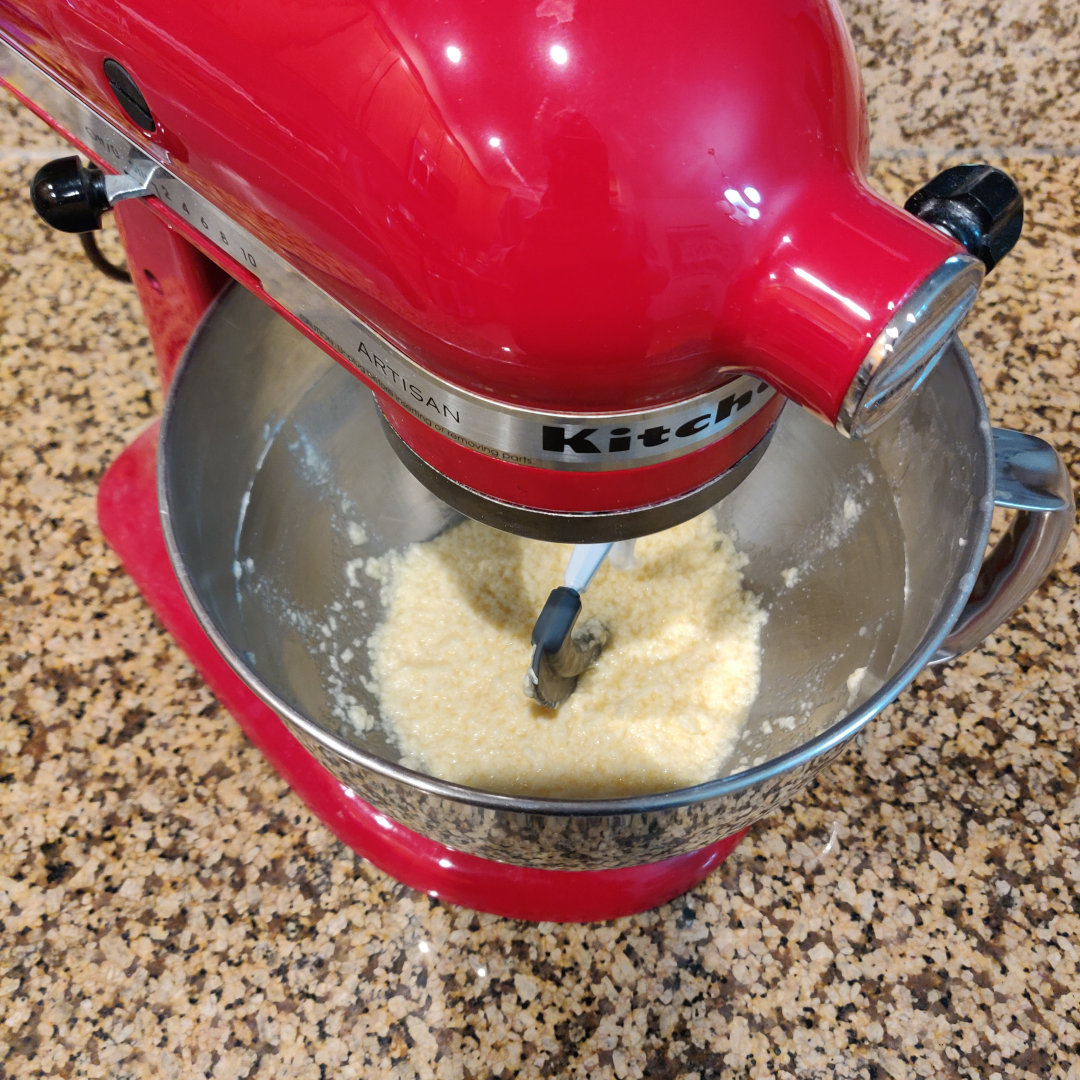
Step 7 Add the sifted all purpose flour, baking soda and salt to the mixing bowl.
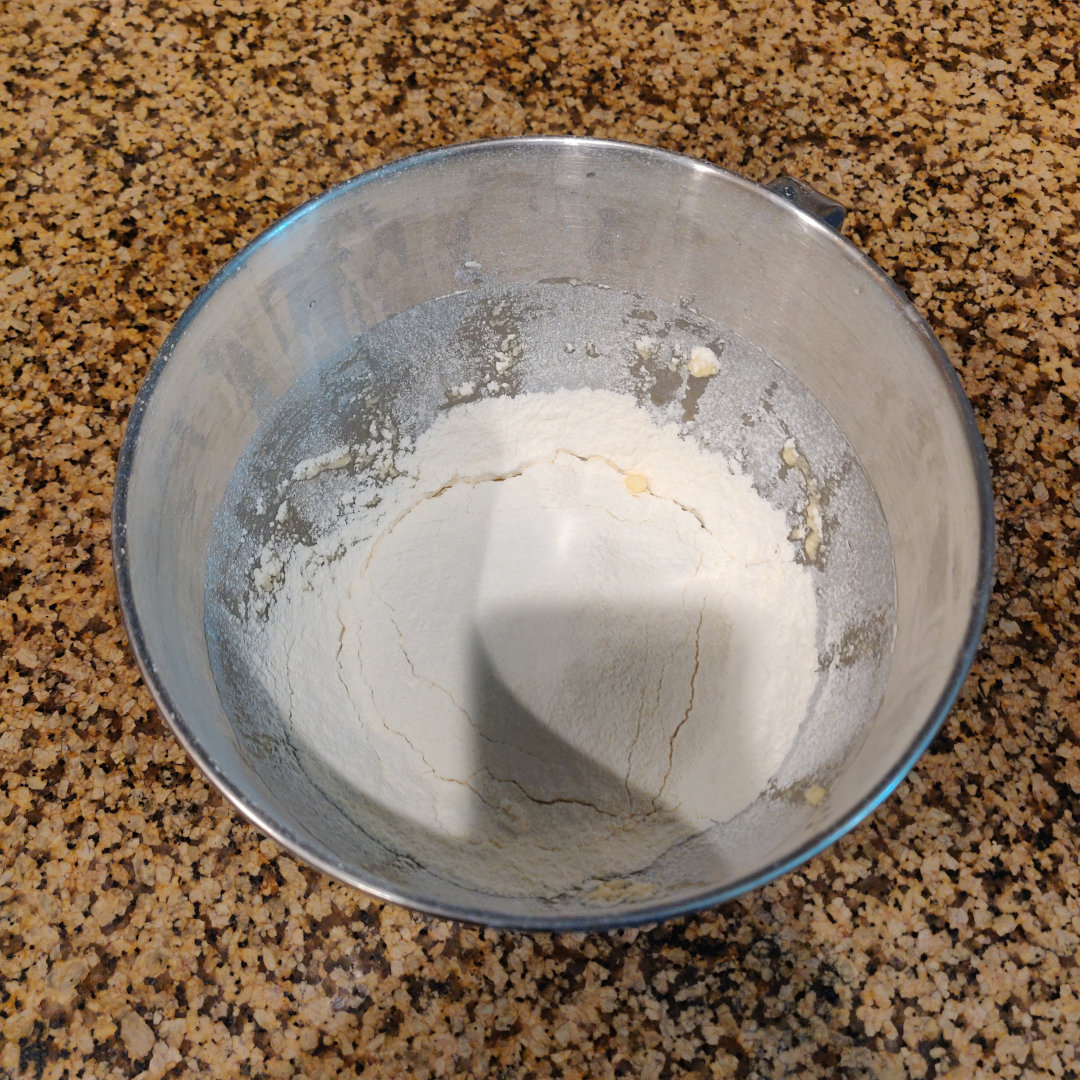
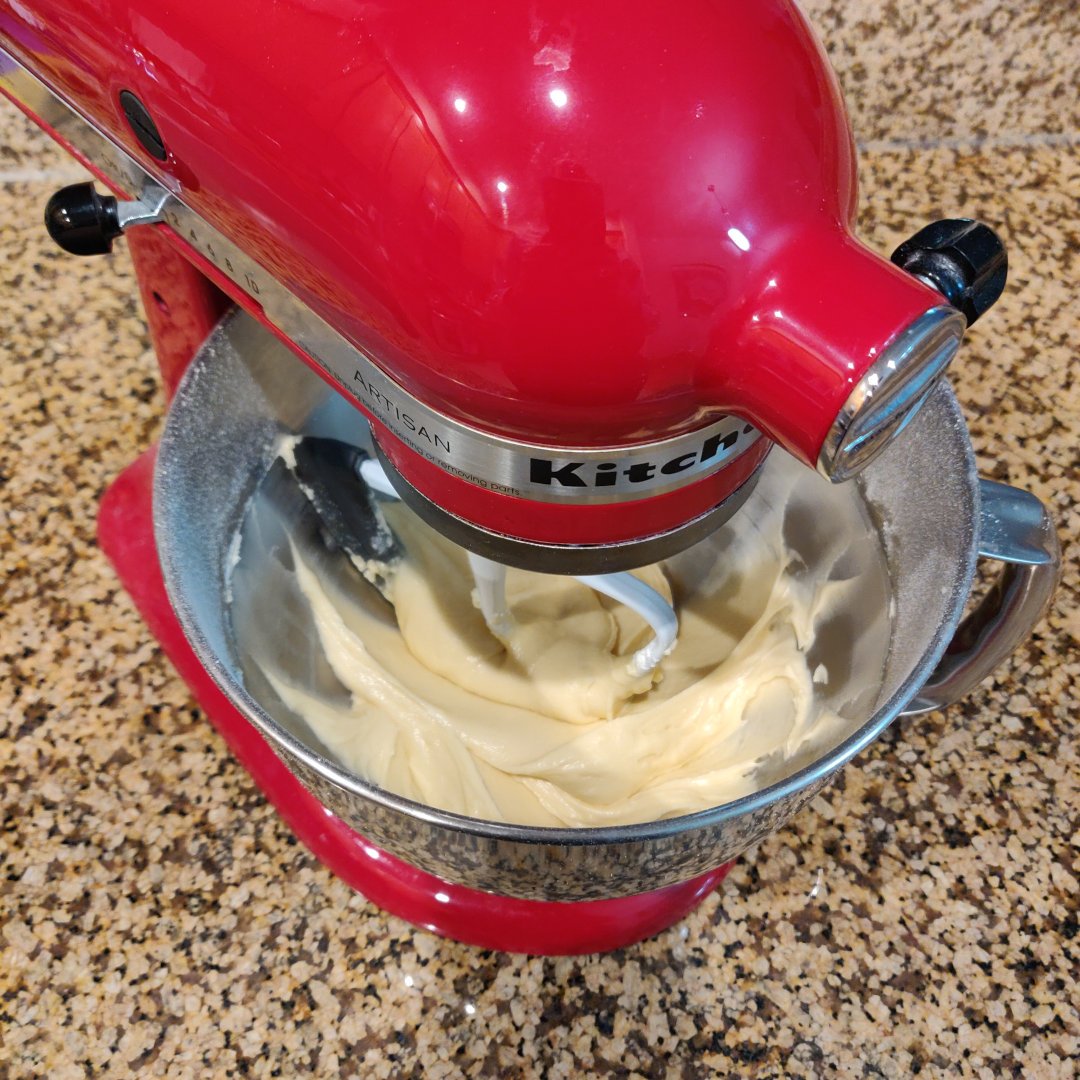
Step 8 Beat together for 2 mins on medium with your kitchen mixer or with your whisk. At this point, the batter appears smooth again.
Step 9 Use an ice cream scoop or tablespoon to ladle six small heaps of batter on a cookie sheet lined with either parchment baking paper or a reusable silicone baking mat.
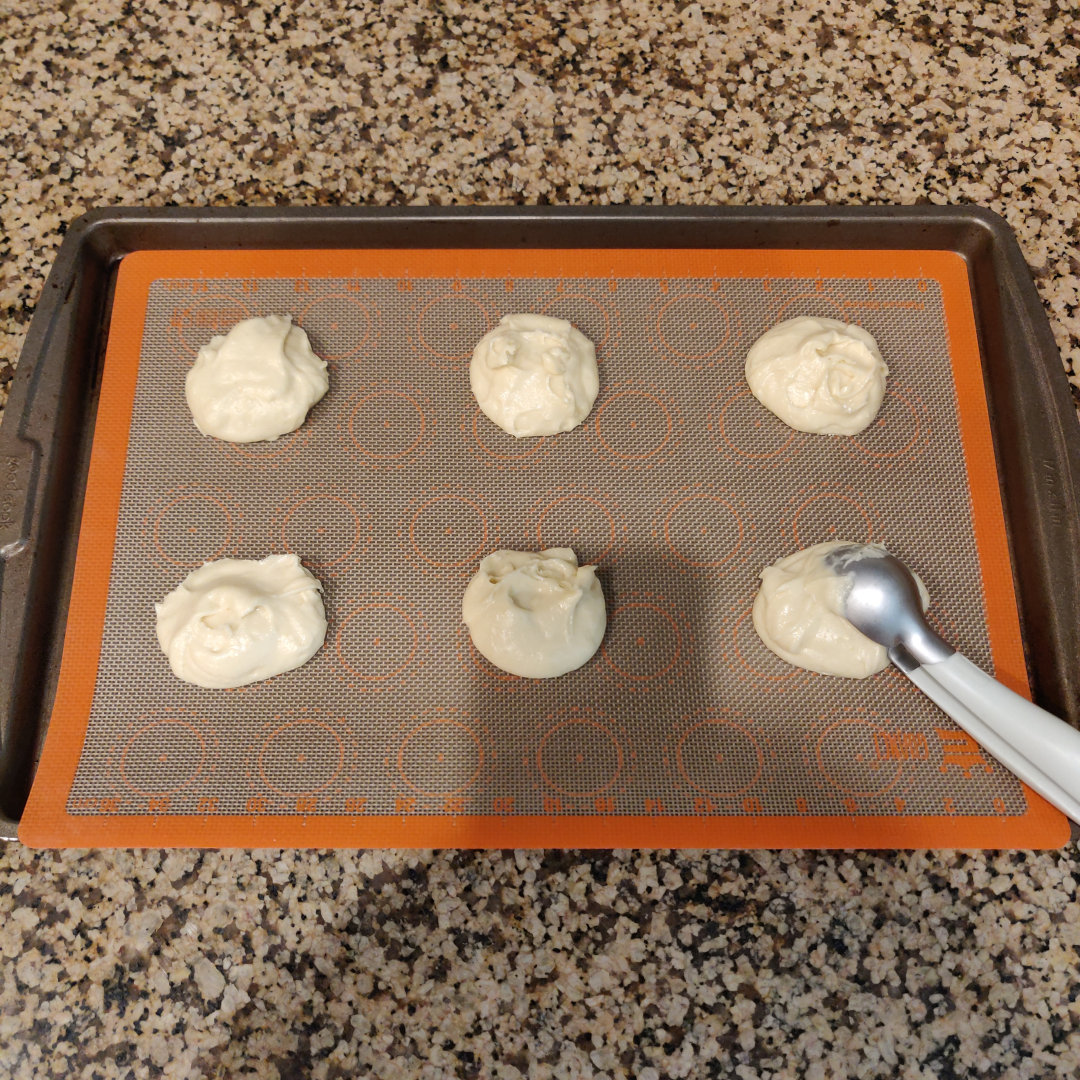
Step 10 Bake the cookie batter for 13 mins, then remove the cookie sheet from the hot oven using oven gloves. Repeat steps #9 and #10 until all cookie batter has been used up.
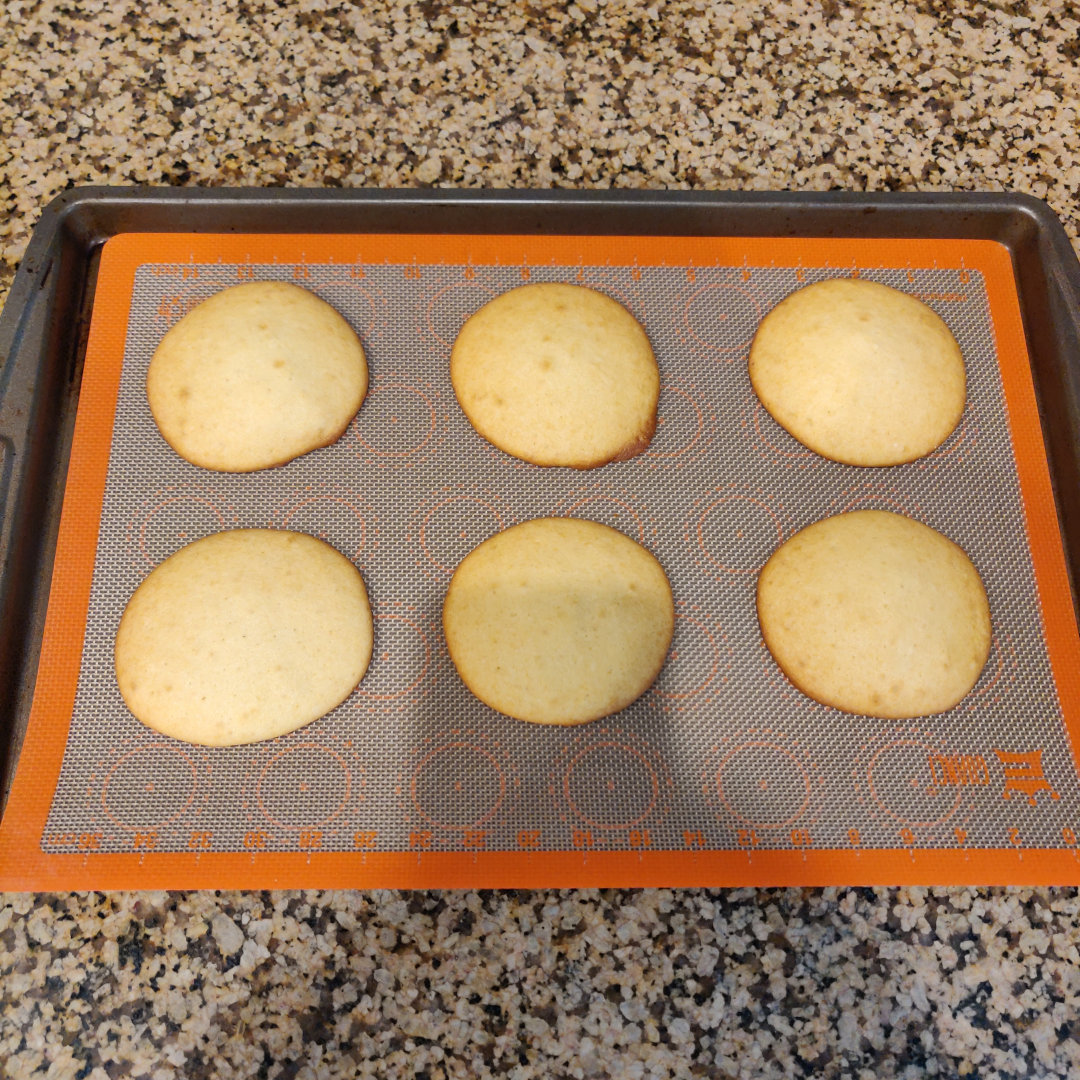
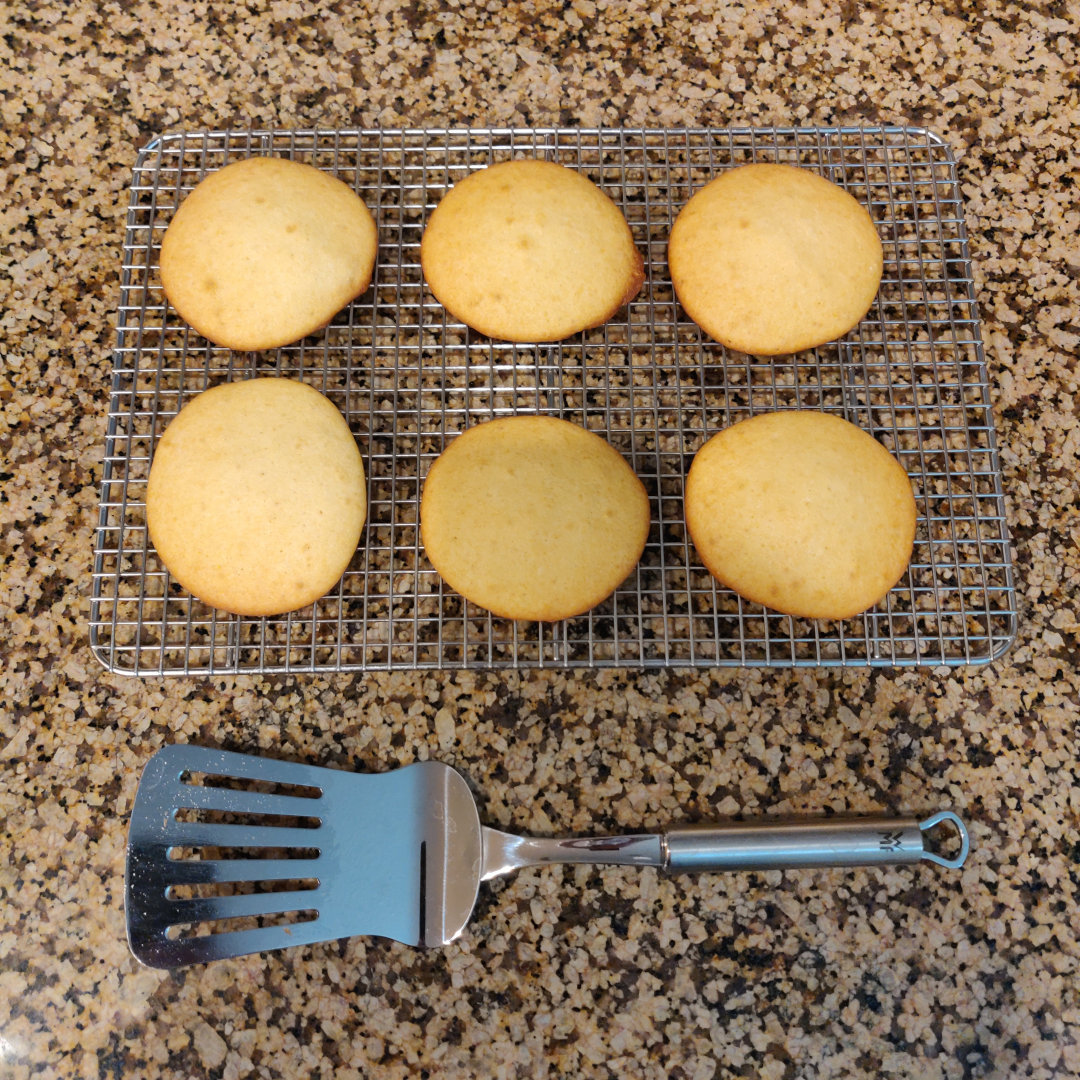
Step 11 Use a flat turner to transfer the baked cookies face down onto a wire cooling rack and allow to cool for 10 mins.
Ingredients for the icing
Tip: You can tap the circle next to each ingredient to check it off as you follow along or while you shop for ingredients.
Step-by-step instructions for the glazing
Step 12 Whisk together the water, lemon juice, vanilla extract and granulated sugar in a small bowl.
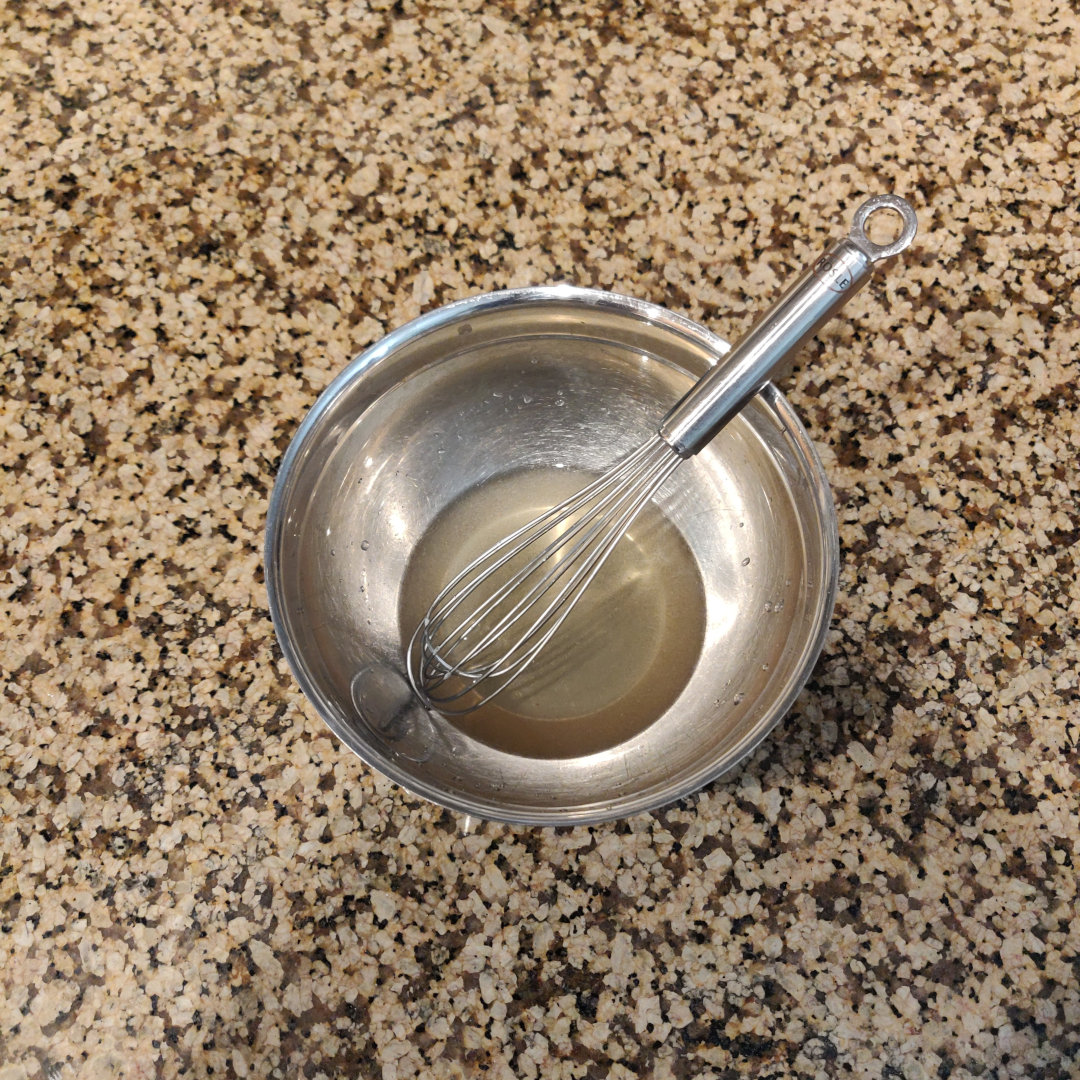
Step 13 Add the powdered sugar.
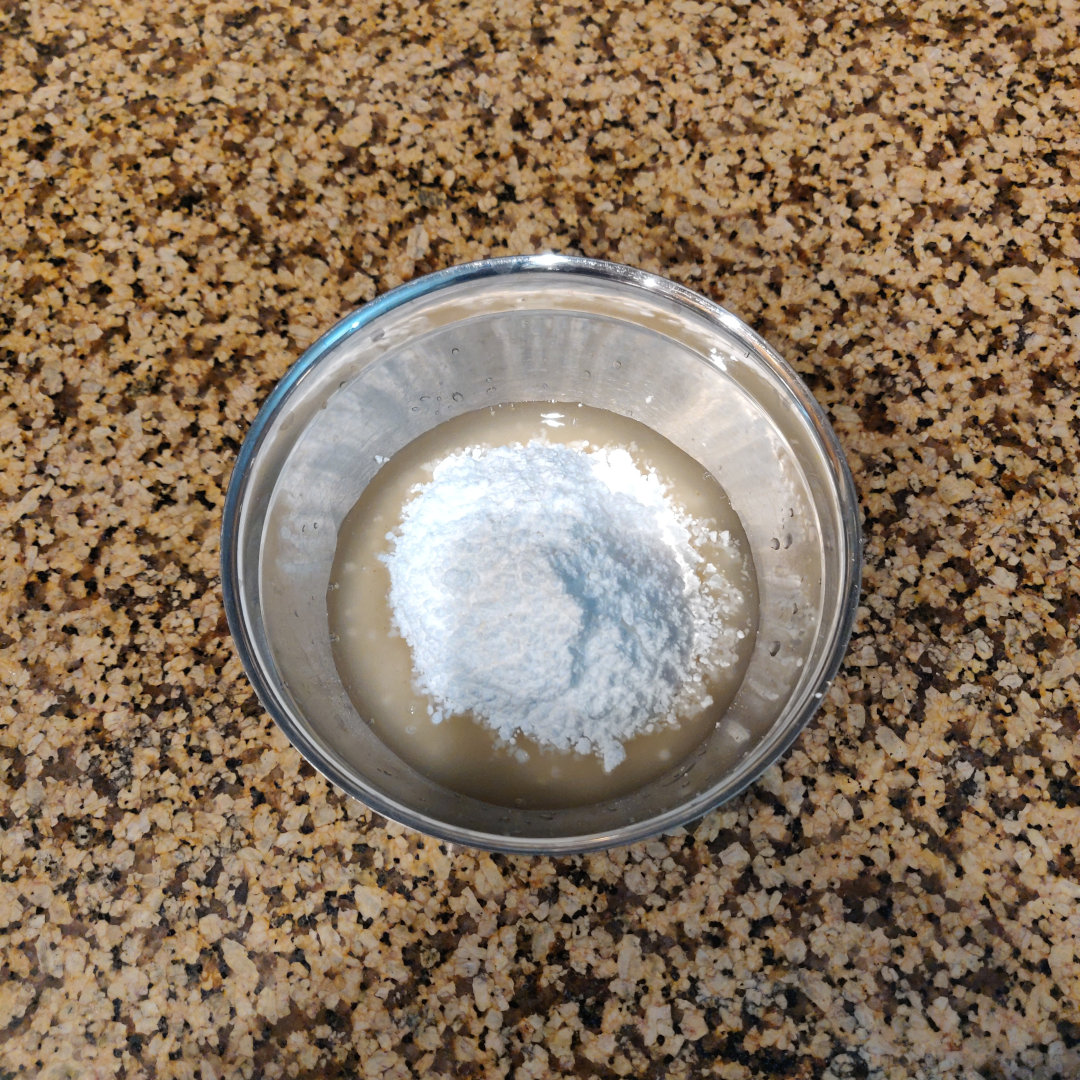
Step 14 Whisk together until it becomes a runny icing. If you still see little lumps of powdered sugar, whisk some more until the lumps disappear.
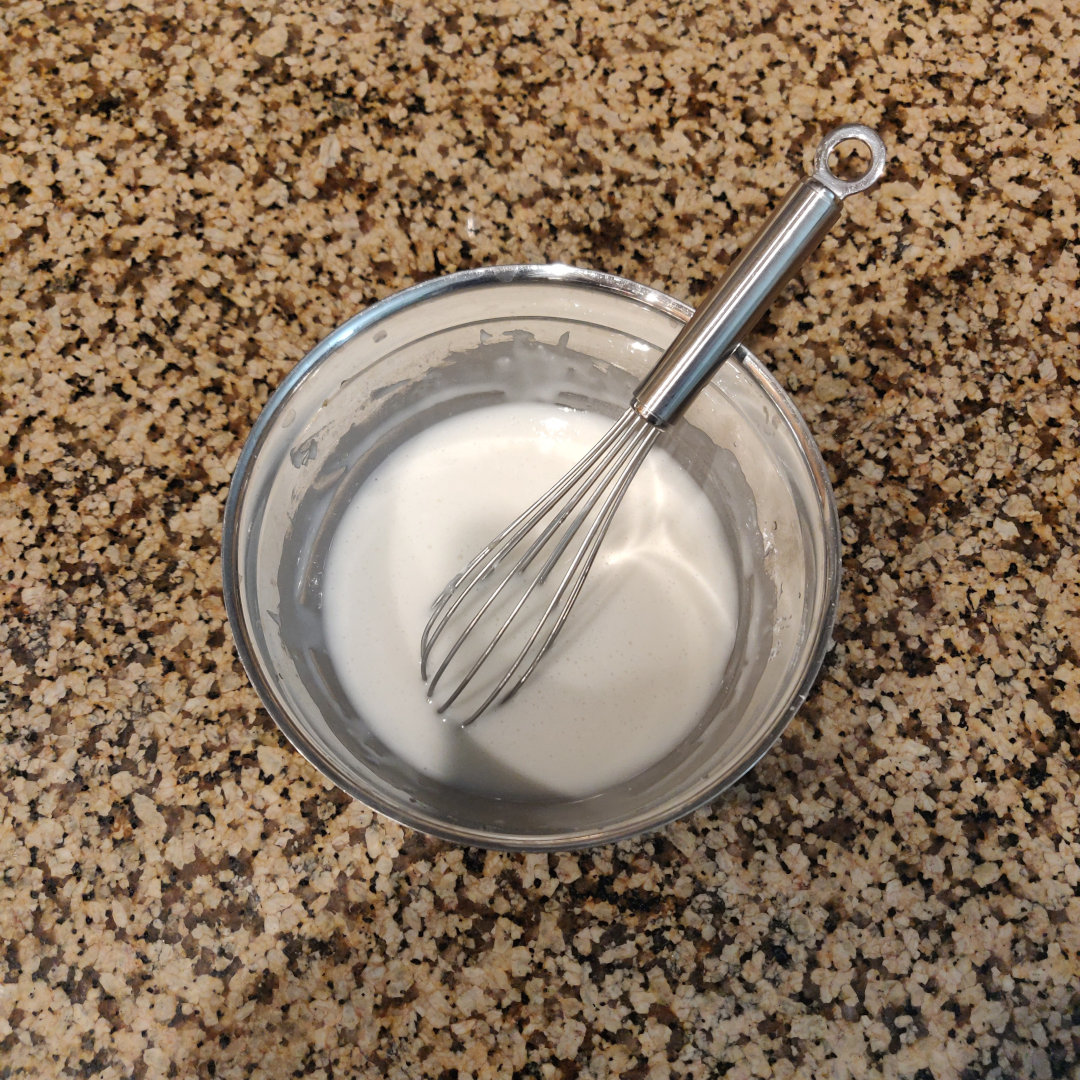
Step 15 Scoop one teaspoon of icing onto the flat face of each cookie. Use a knife to evenly coat each cookie with the icing.
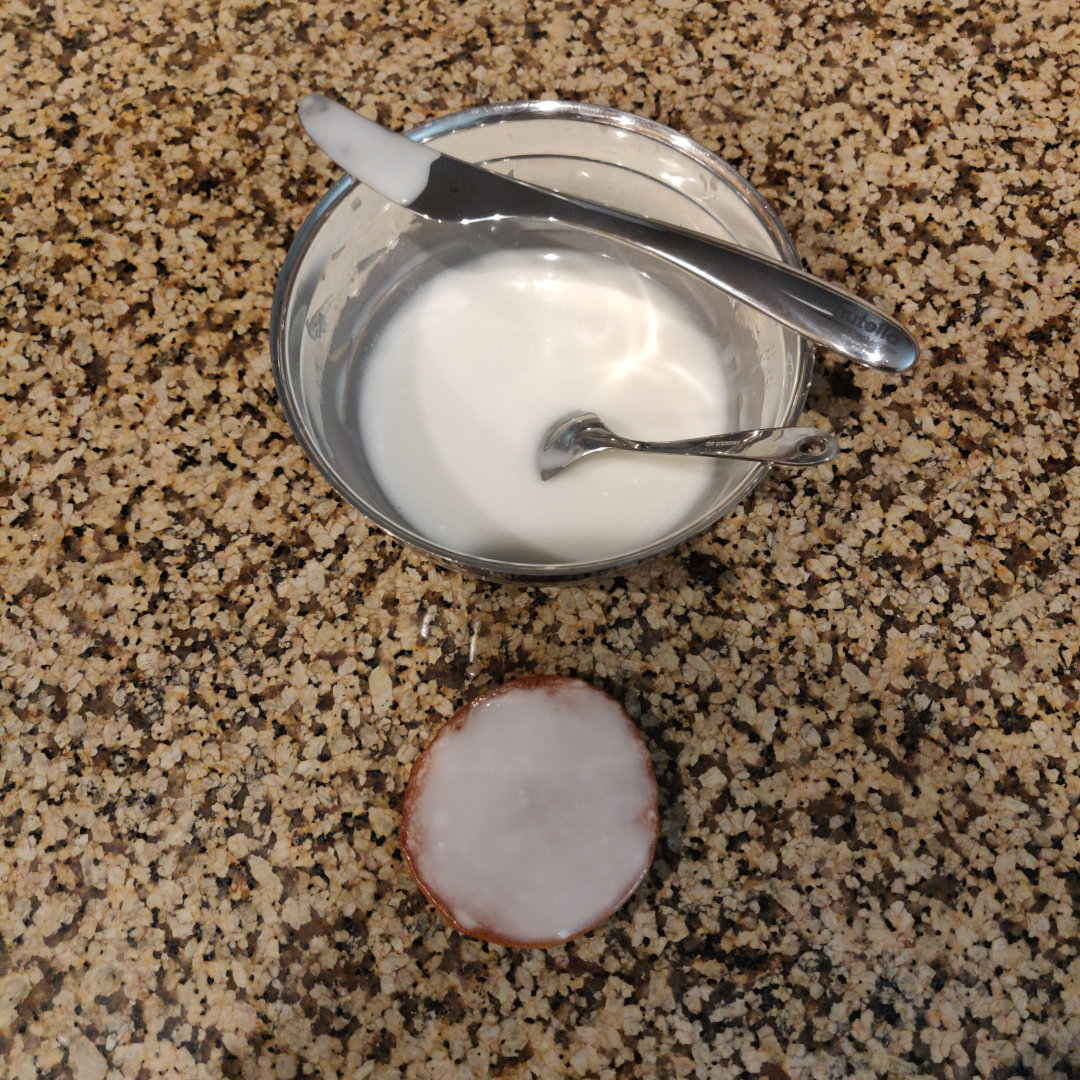
Step 16 Place the cookies back on the wire cooling rack and put it in your fridge for 20 mins for the white icing to harden.
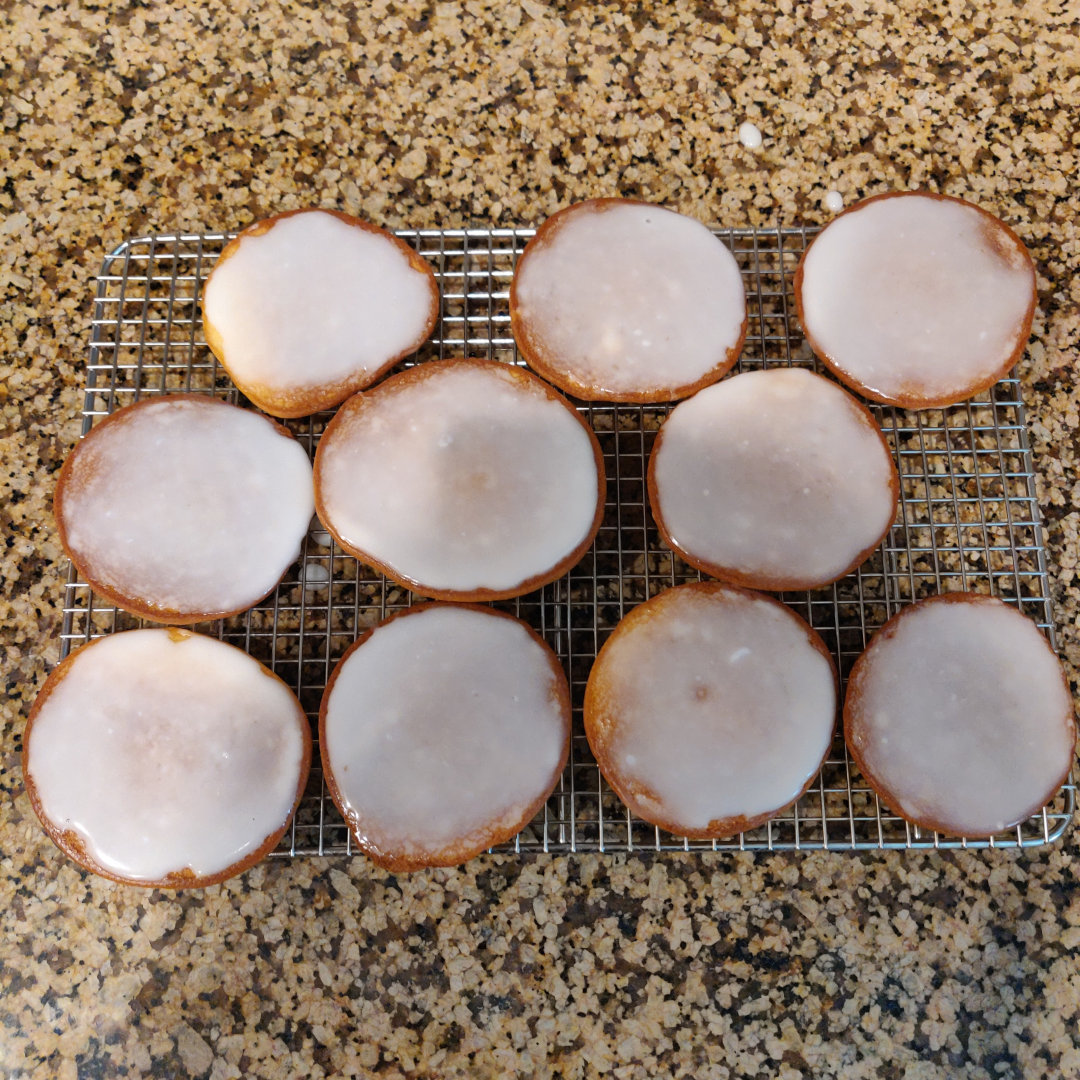
Step 17 Scoop another teaspoon of icing onto the previous layer of icing. Use a knife to evenly coat each cookie with the icing a second time. Then place back in your fridge for another 20 mins for the second coat of white icing to harden.
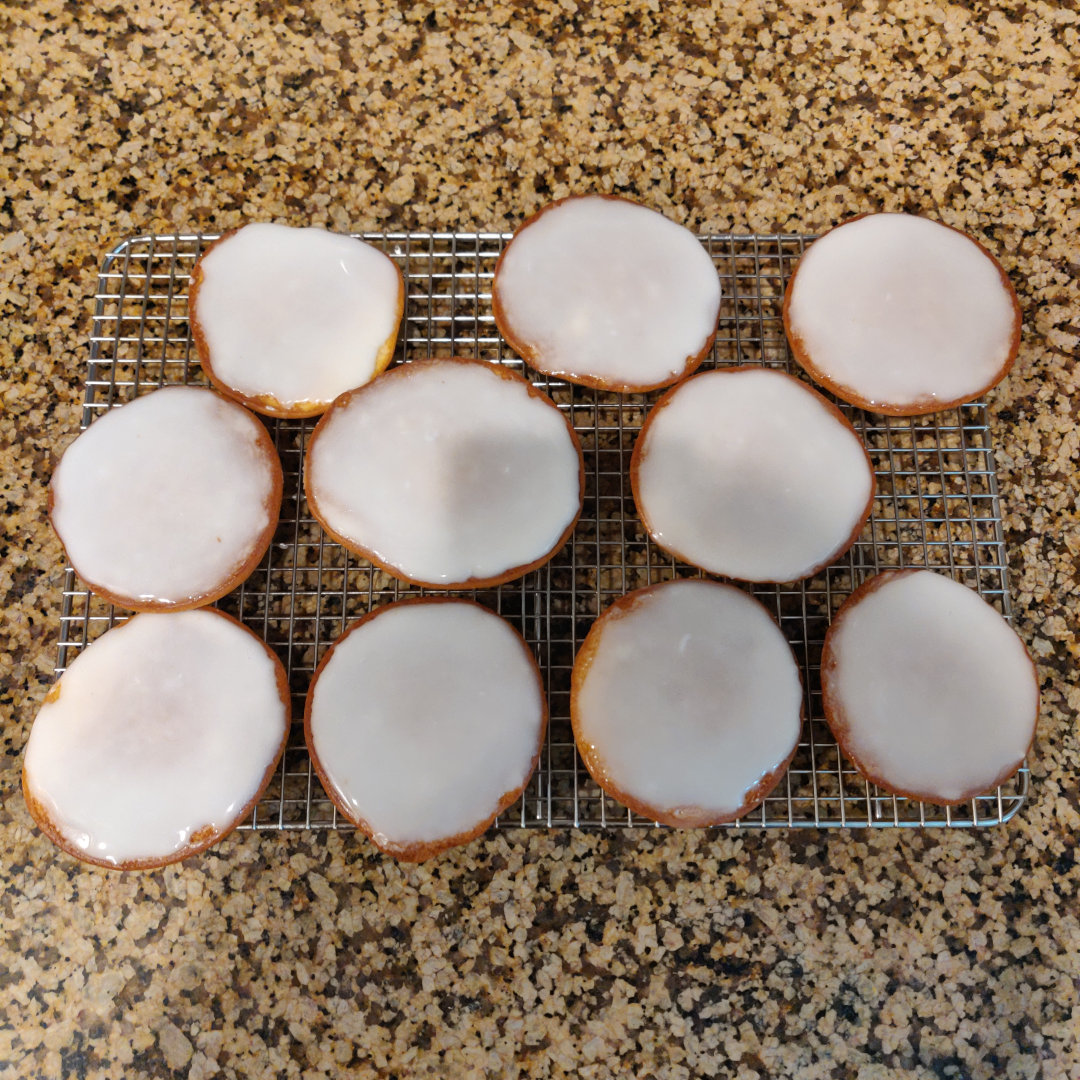
Step 18 Add the dark cocoa powder to the remaining icing.
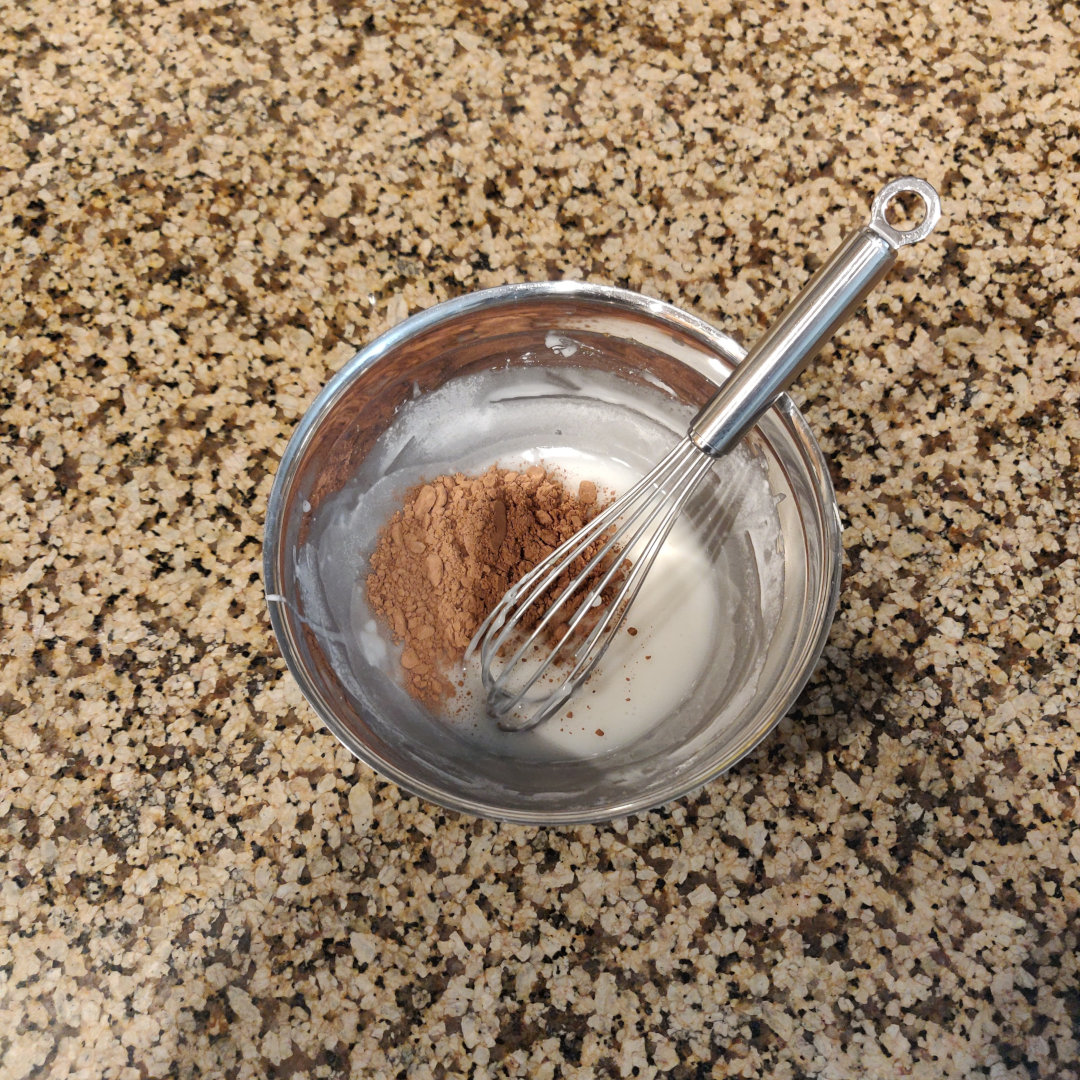
Step 19 Whisk together. If you still see little lumps of cocoa powder, whisk some more until the lumps disappear.
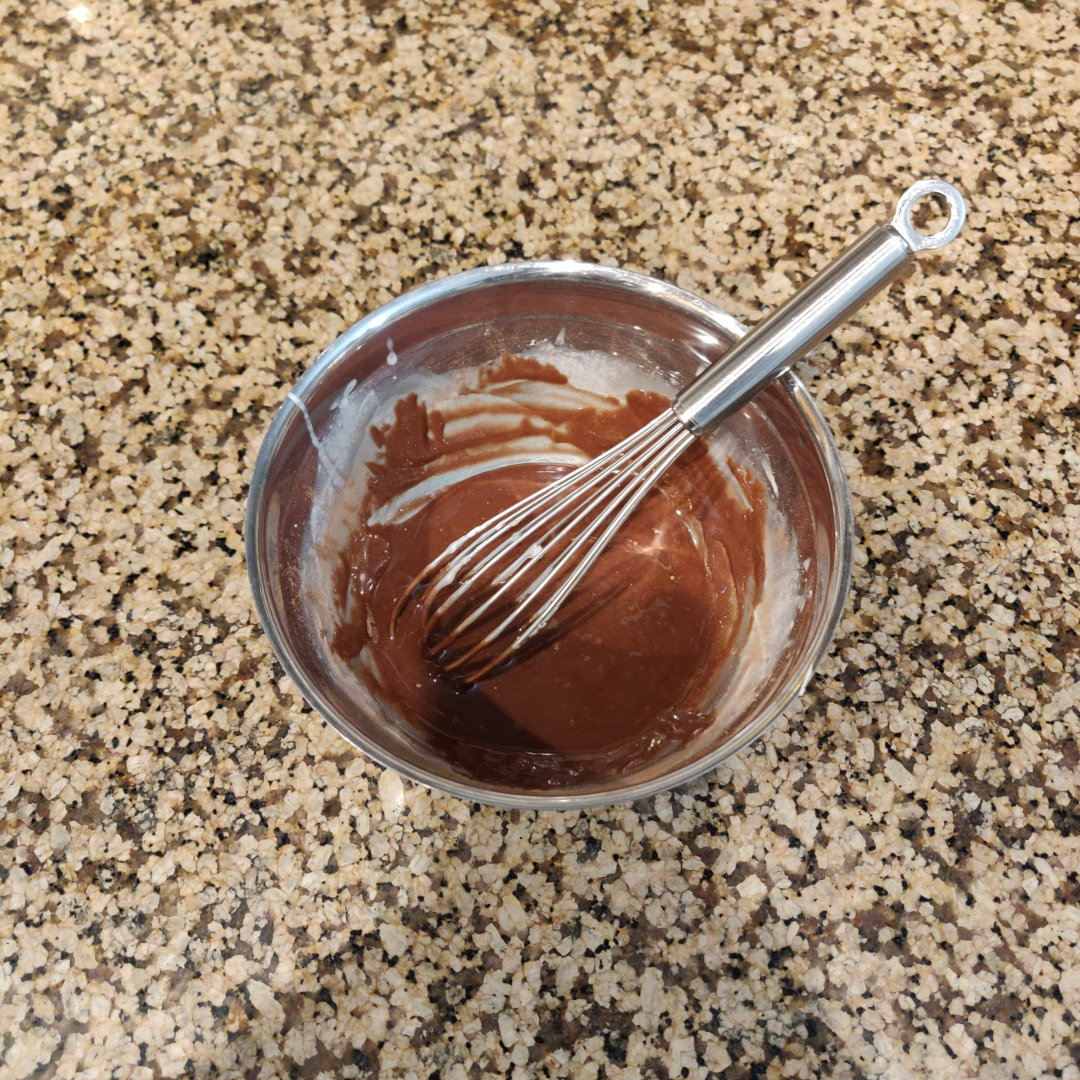
Step 20 Scoop one teaspoon of the now black icing onto one half of each cookie, on top of the white layers. Use a knife to evenly coat each cookie with the black icing on that half of each cookie. Then place back in your fridge for another 20 mins to allow the black icing to harden.

Did you know Cana is a Christian app? If you are curious what your Christian friends believe in, read a 1 minute summary of what Christianity is all about. Have a blessed day enjoying your freshly baked black & white cookies!